Split and Skinless Yellow Lentils, known as Moong dal in Hindi is the key ingredient of the Moong dal dosa, a speciality of the Konkani Cuisine of Karnataka, South India. This dosa can be prepared in various variants. It is extremely tasty and quick to make.
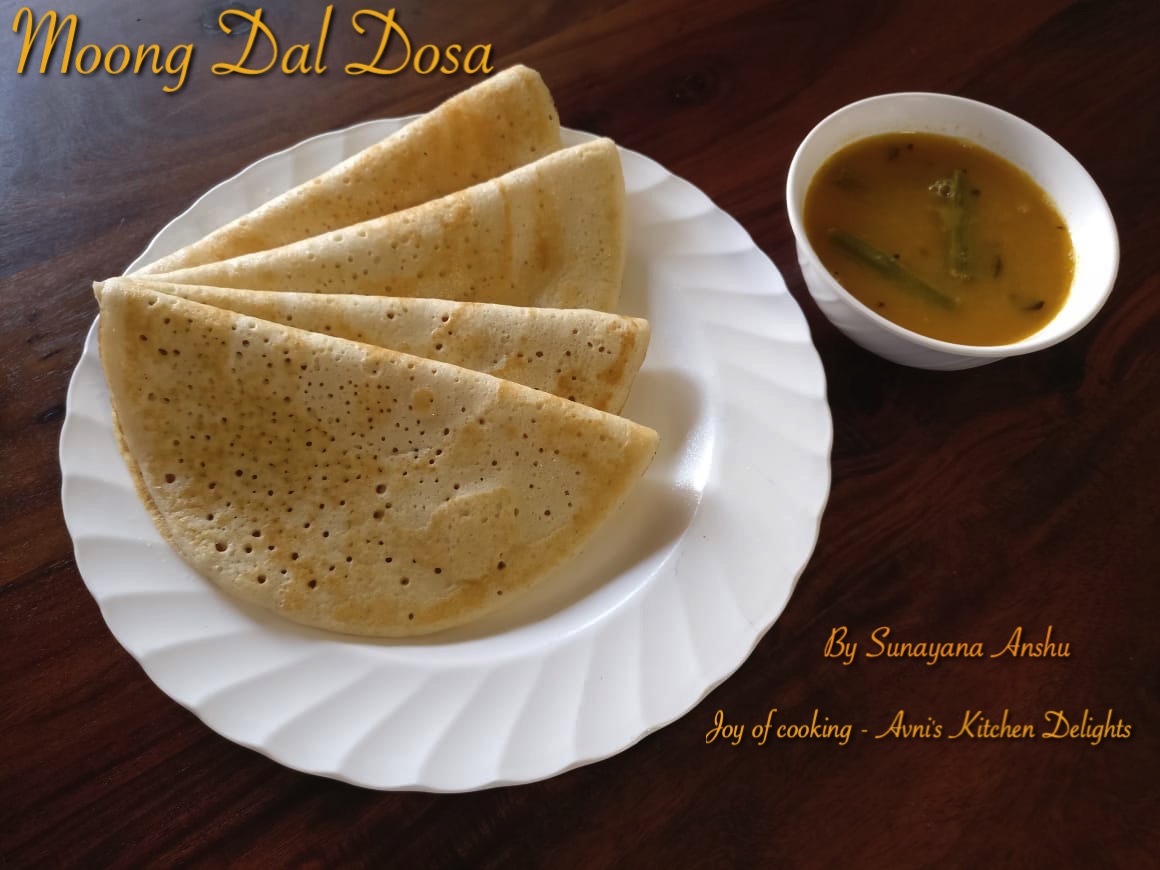
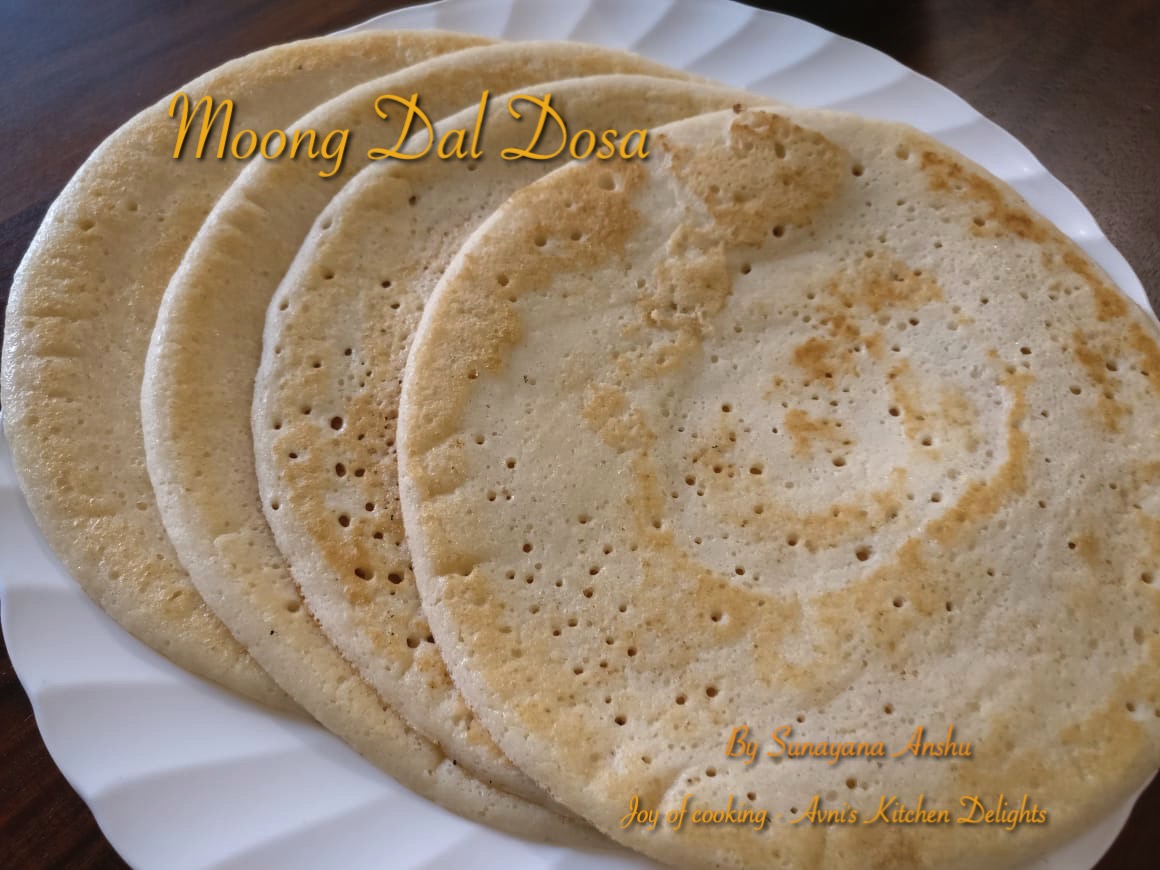
Today I will share one variant of Moong dal dosa. Without much wait, here is the list of ingredients.
INGREDIENTS :
(1) 250 gms of Split and Skinless Yellow Lentils / Moong Dal
(2) 250 gms of Split and Skinless Black gram Lentils / Urad Dal
(3) 1 teaspoon of Fenugreek seeds / Methi dana
(4) Half teaspoon of Asafoetida / Hing
(5) Salt as required
(6) Oil for frying the Dosas
(7) 500 ml of water for grinding the lentils
Course : Breakfast / Evening Snacks / Main
Cuisine : Konkani, South Indian
Yields : 12 -15 dosas
Time required : 2-3 hrs for soaking and 15 minutes to fry dosas
Here are the pictures of the ingredients used.


PREPARATION :
SOAKING THE LENTILS :
(1) Take 250 gms of Moong Dal, 250 gms of Urad Dal and 1 teaspoon of Fenugreek Seeds / Methi dana in a large bowl.
(2) Wash them thoroughly under tap water and rinse well to remove dirt, dust and germs.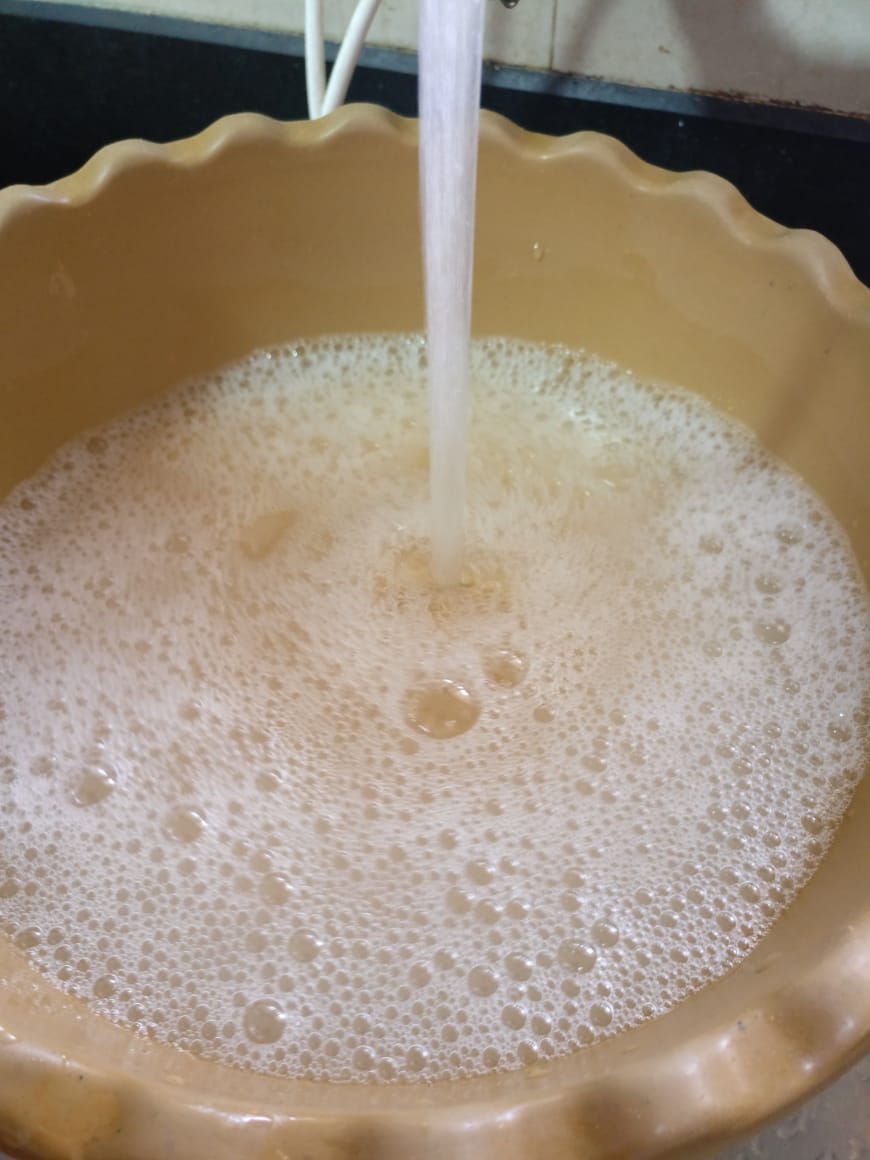
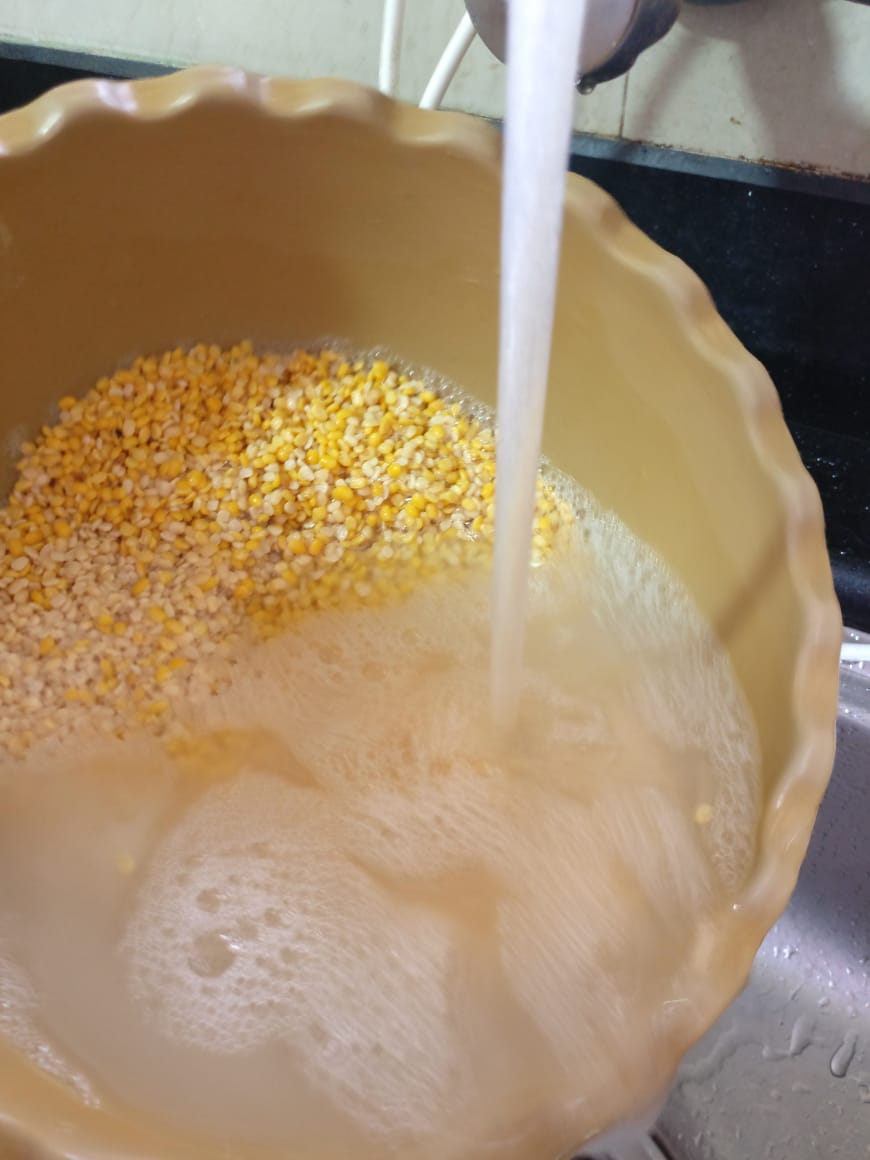
(3) Once washed well, fill water in the bowl to soak the lentils.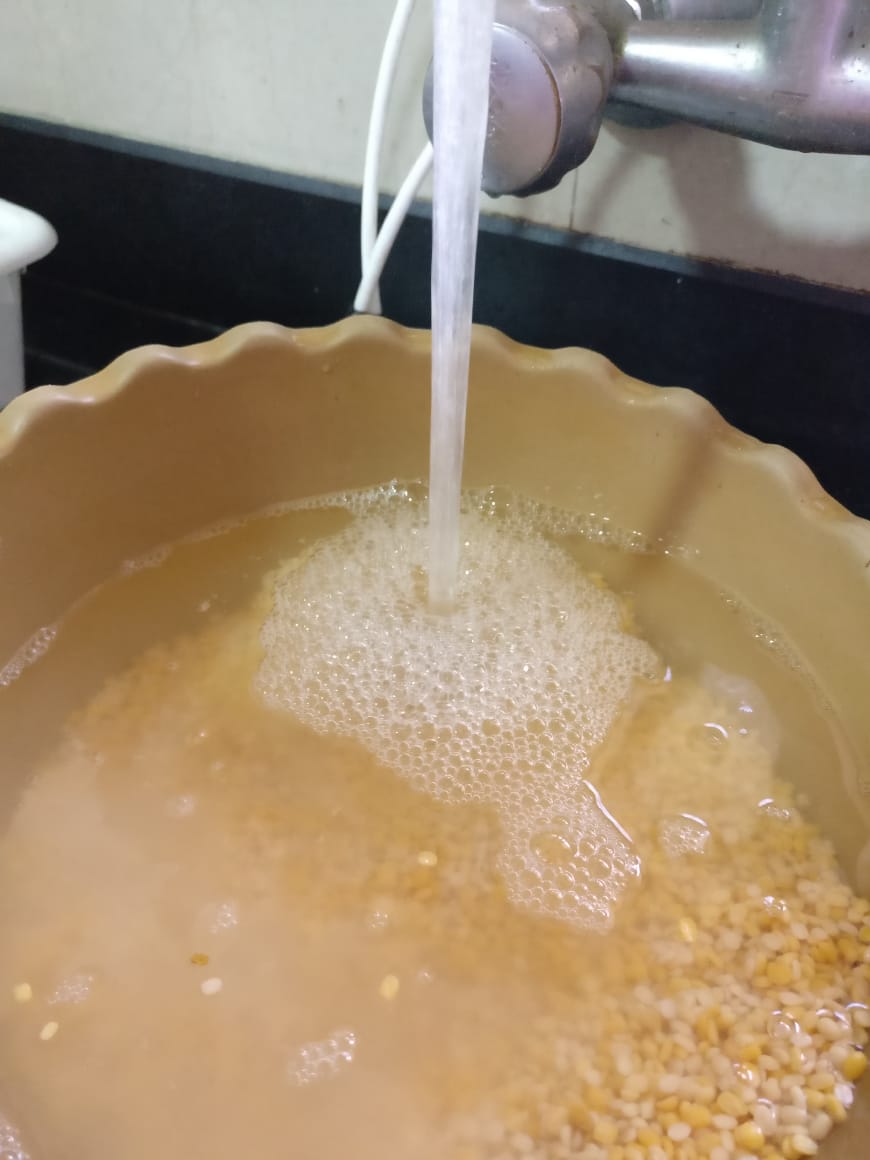
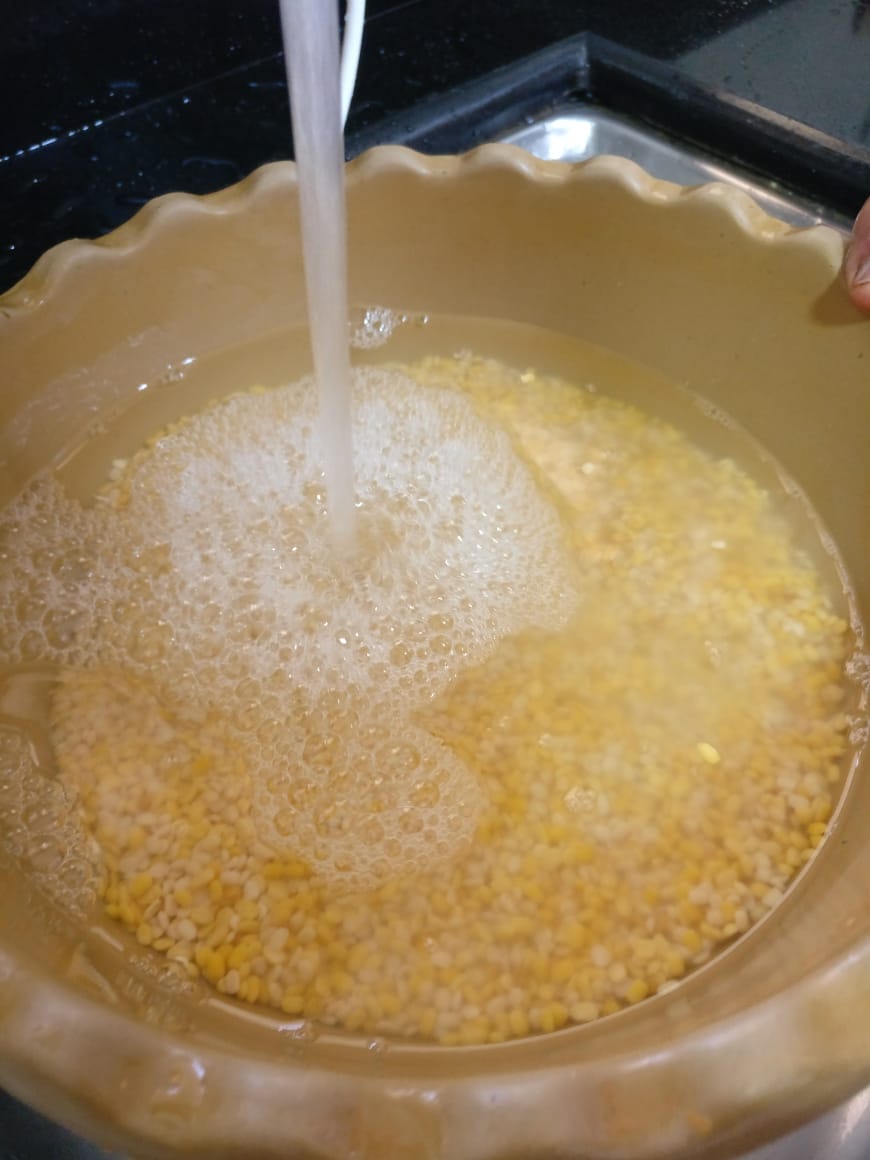
(4) Soak the lentils in water along with fenugreek seeds for 2-3 hours.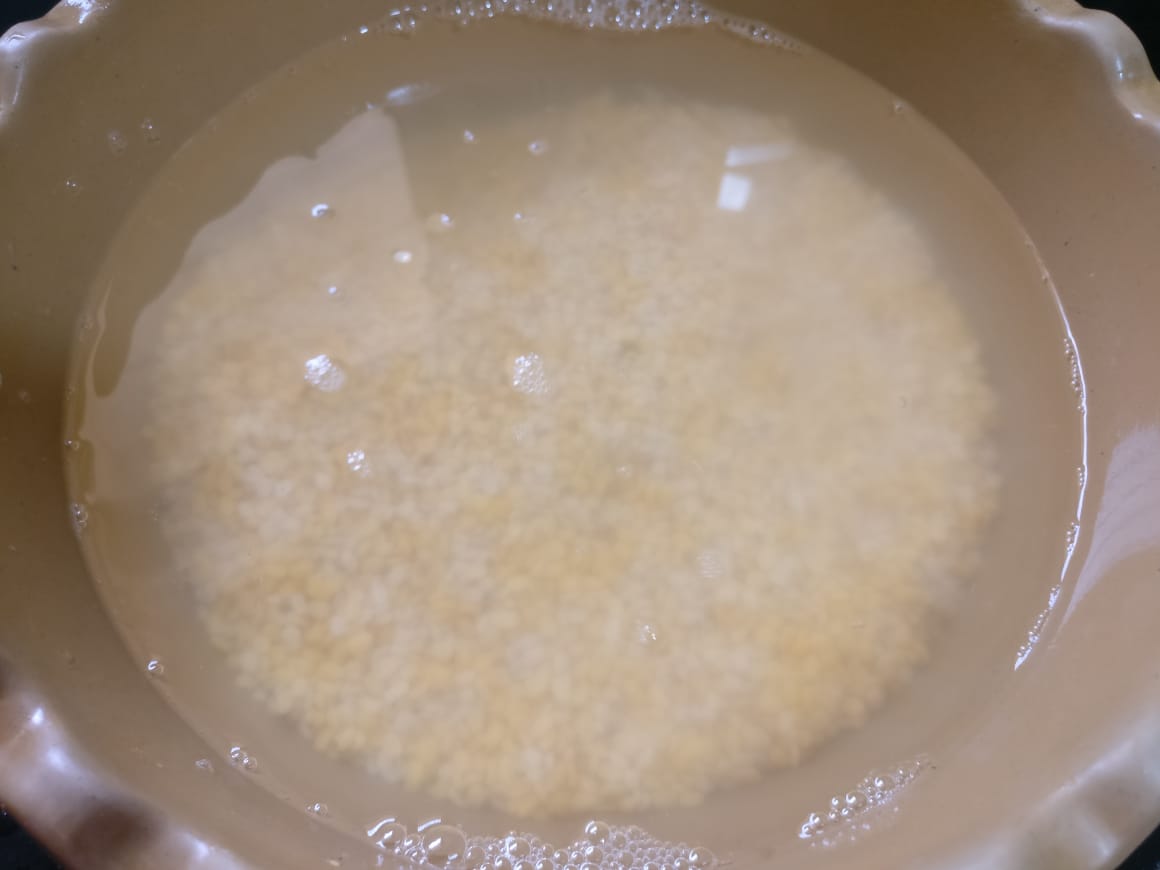
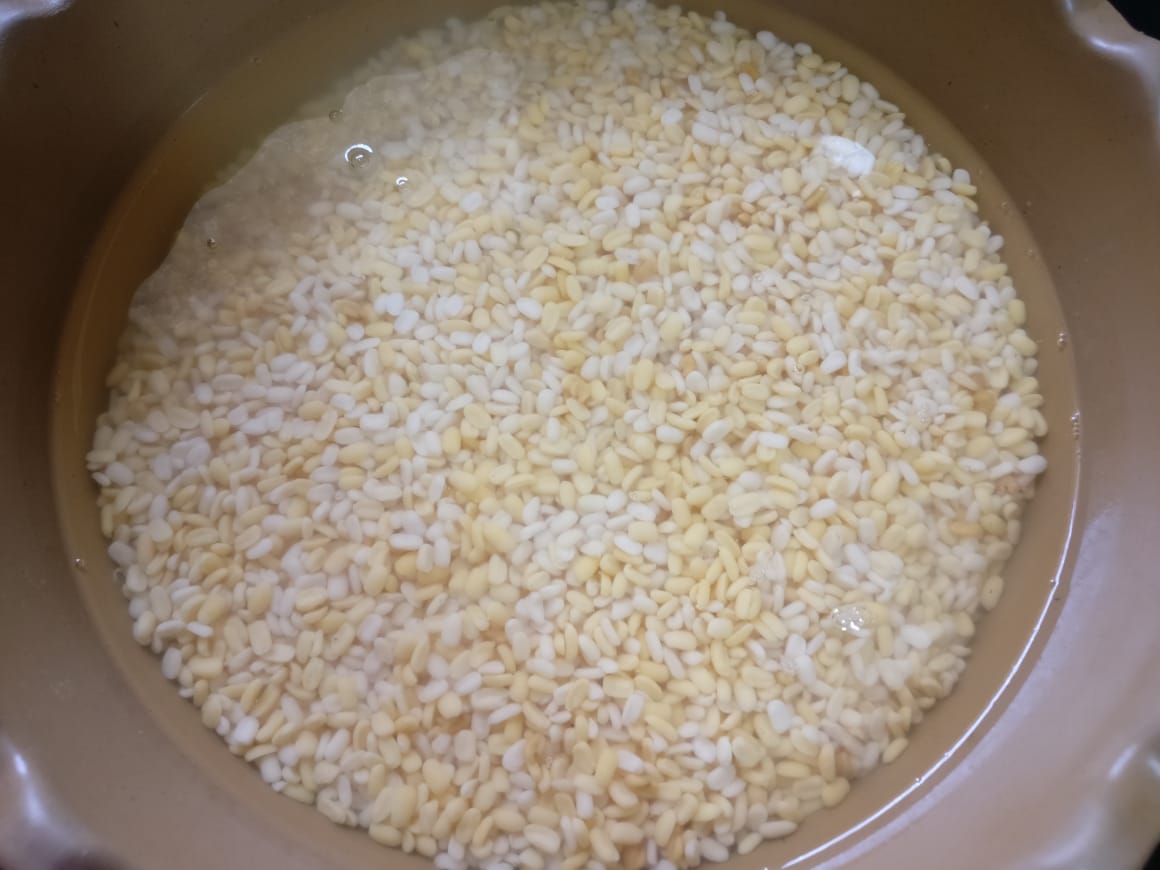
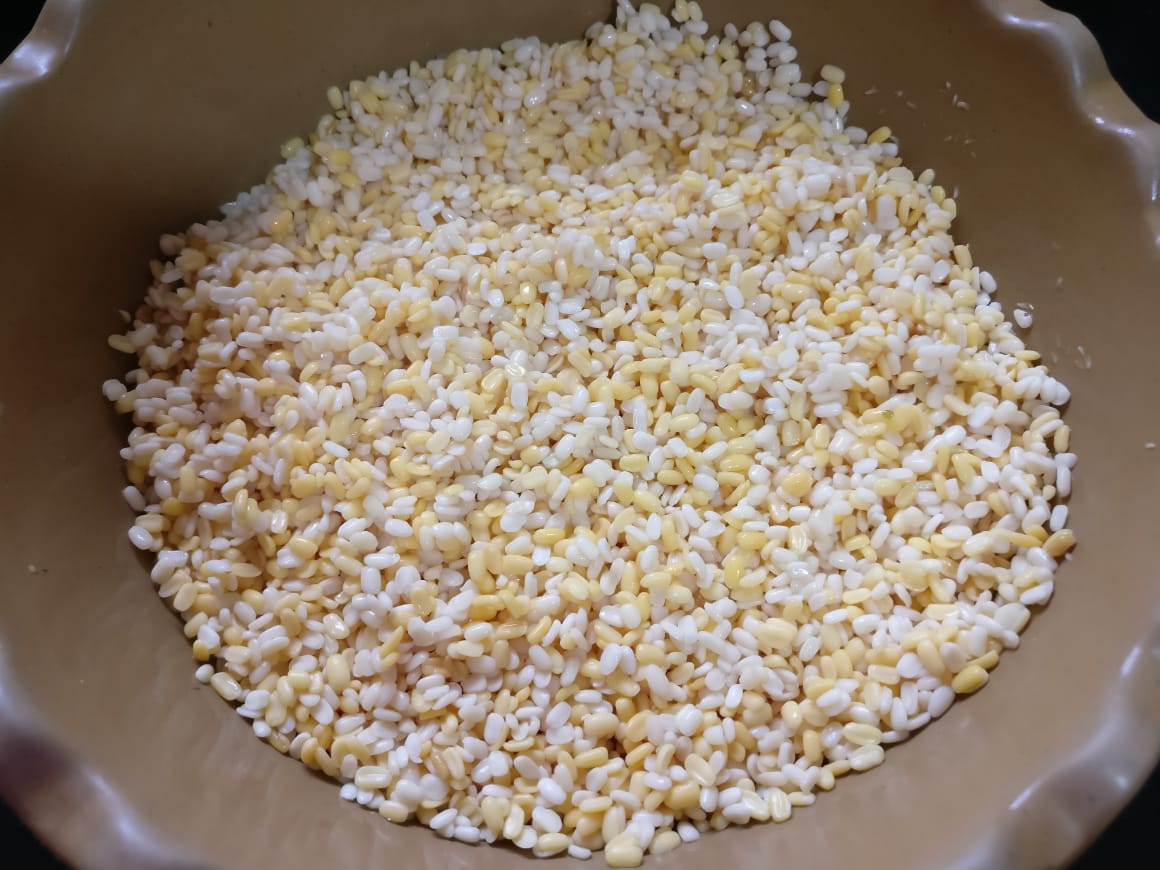
(5) After 2-3 hours of soaking, I personally prefer to discard the soaking liquid. You will lose some desirable nutrients and dark pigment, but you will also decrease flatulence and potency of anti-nutrients found in the grains. Here is the picture of soaked lentils.
PREPARING BATTER :
(1) Now, take all the soaked lentils in a grinding jar of the mixer grinder to grind them. In case, the quantity is more and does not fit in the jar, then you can grind in two or more batches.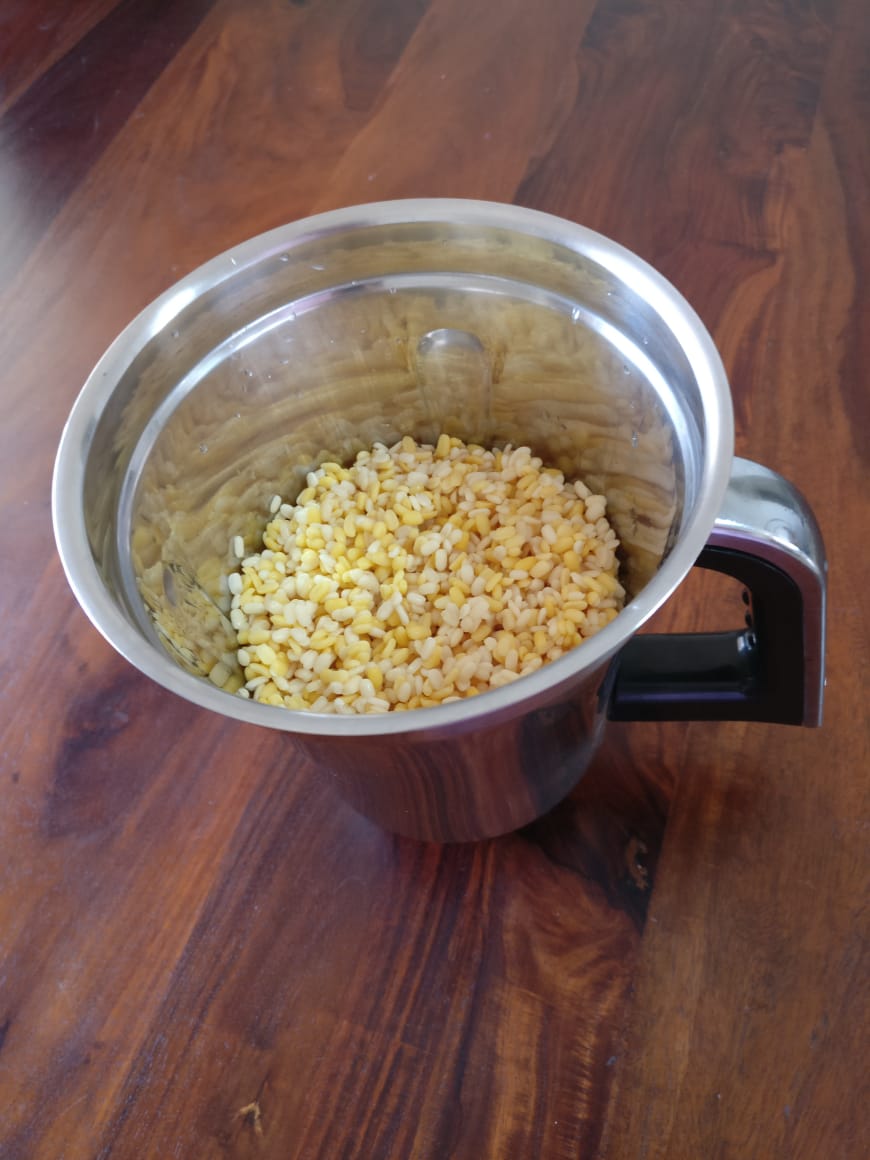
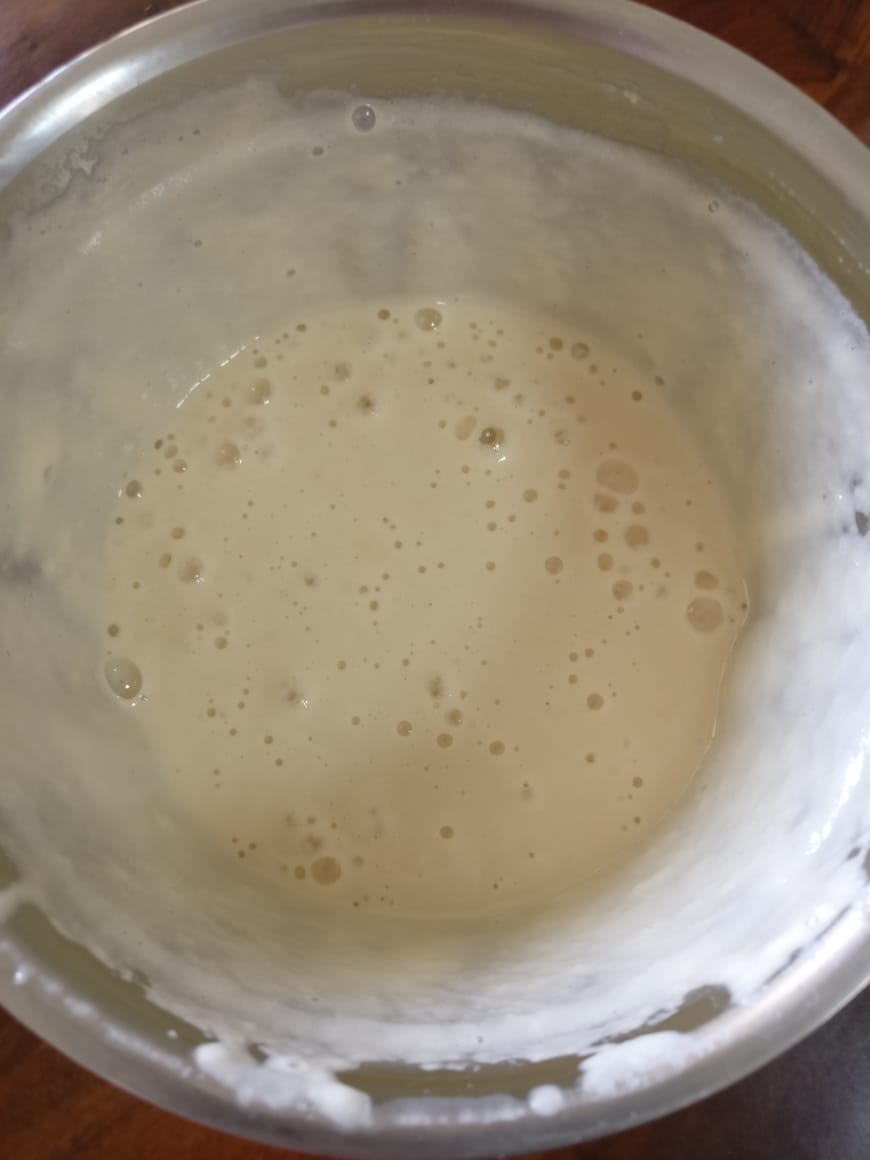
(2) Grind the lentils to form a fine paste. While grinding the lentils, add only 30-50 ml of water first. Do not add too much of water at once. If there is difficulty in grinding, add more water. I have added a total of 500 ml of water for grinding the lentils in two batches. I prefer adding required amount of salt during grinding itself. So, add Salt as per taste. Along with Salt, add half teaspoon of Asafoetida / Hing.
(3) Collect the batter in a sufficiently large utensil from the grinding jar.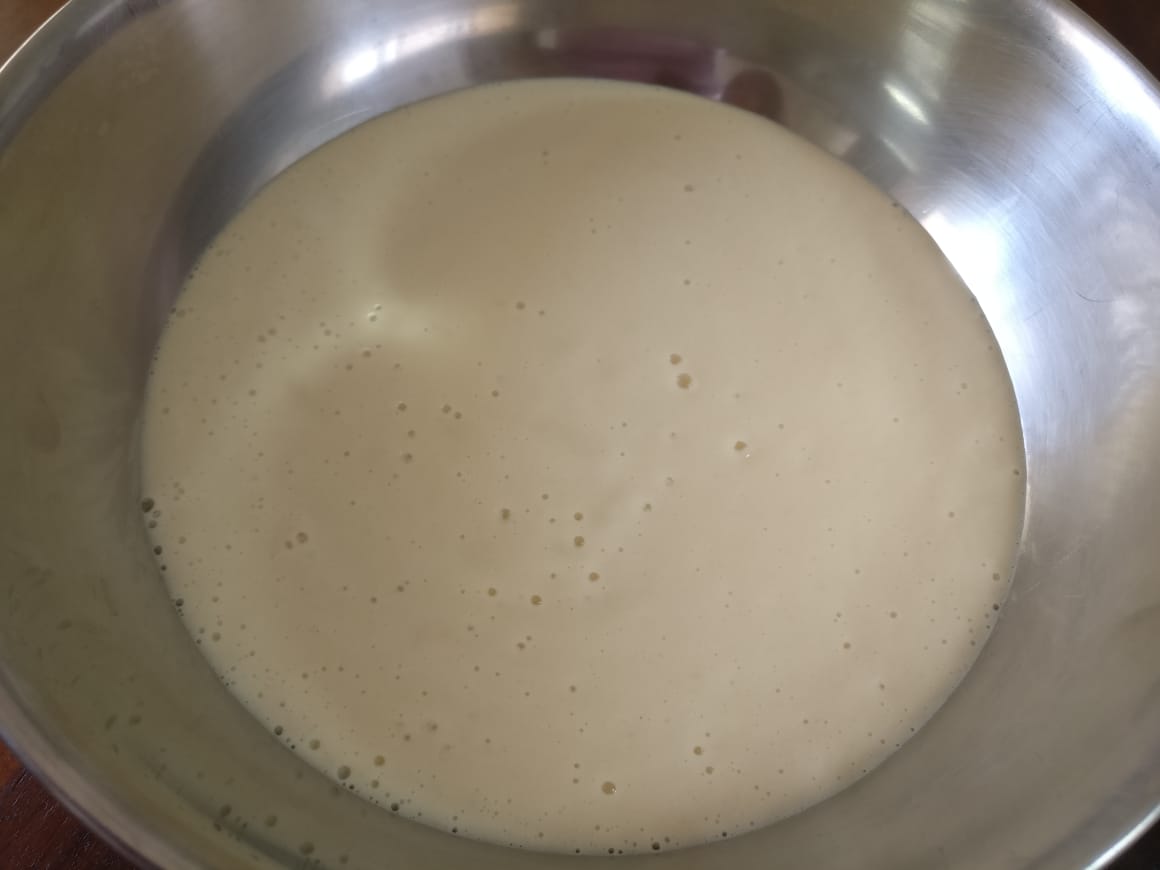
(4) Another batch of grinding……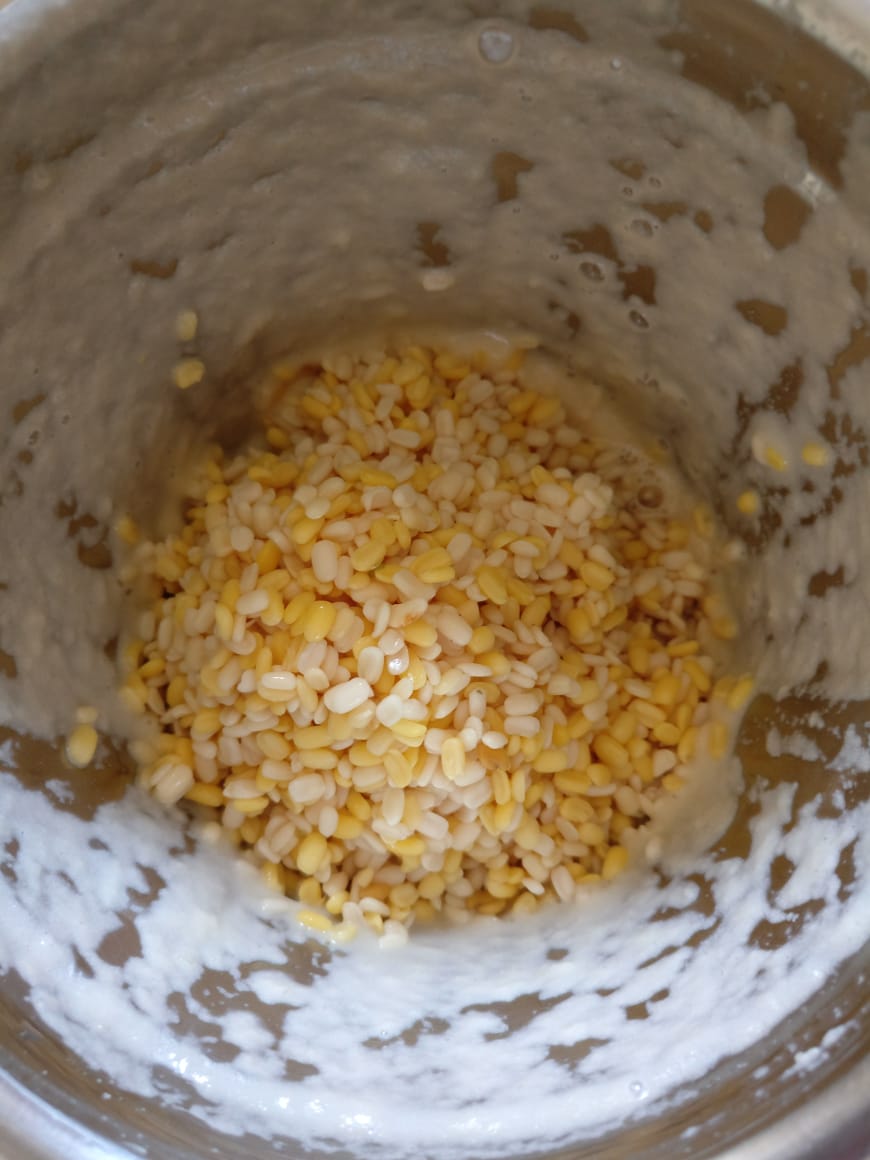
Add Salt…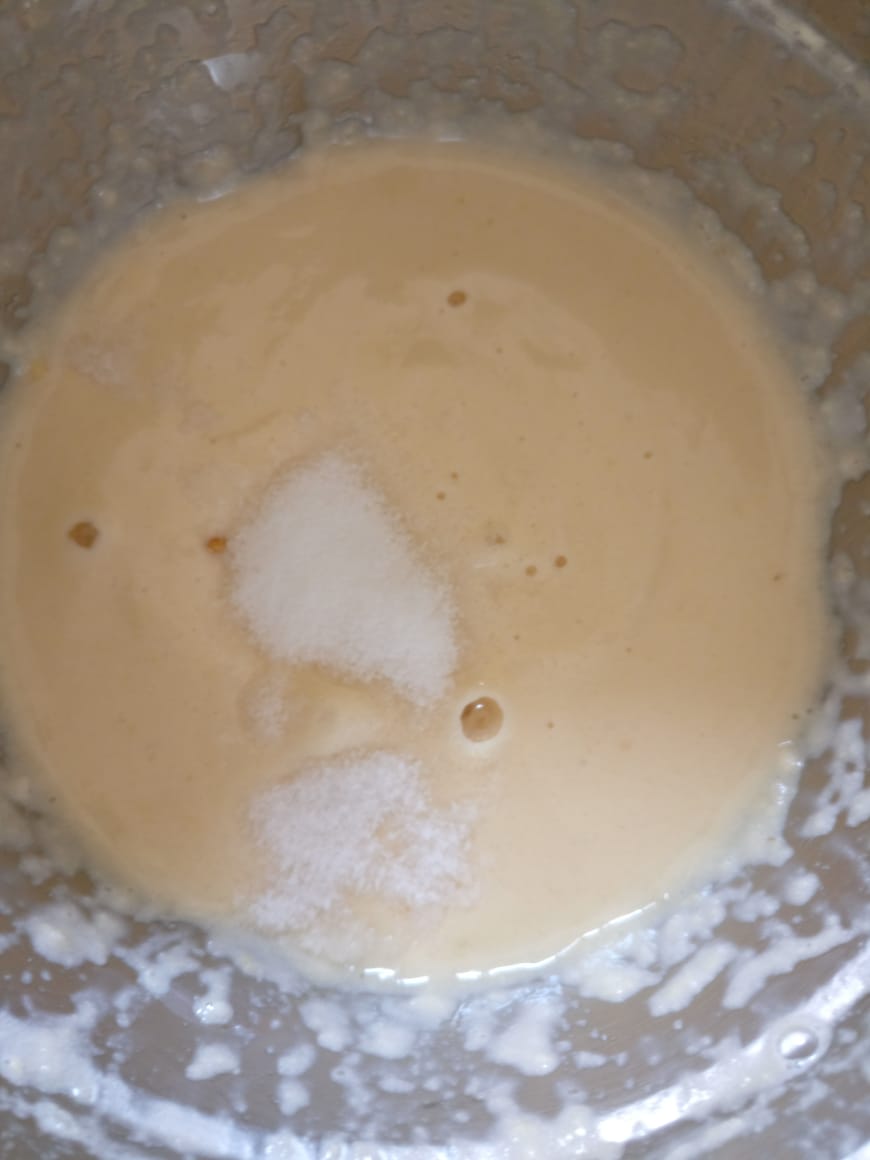
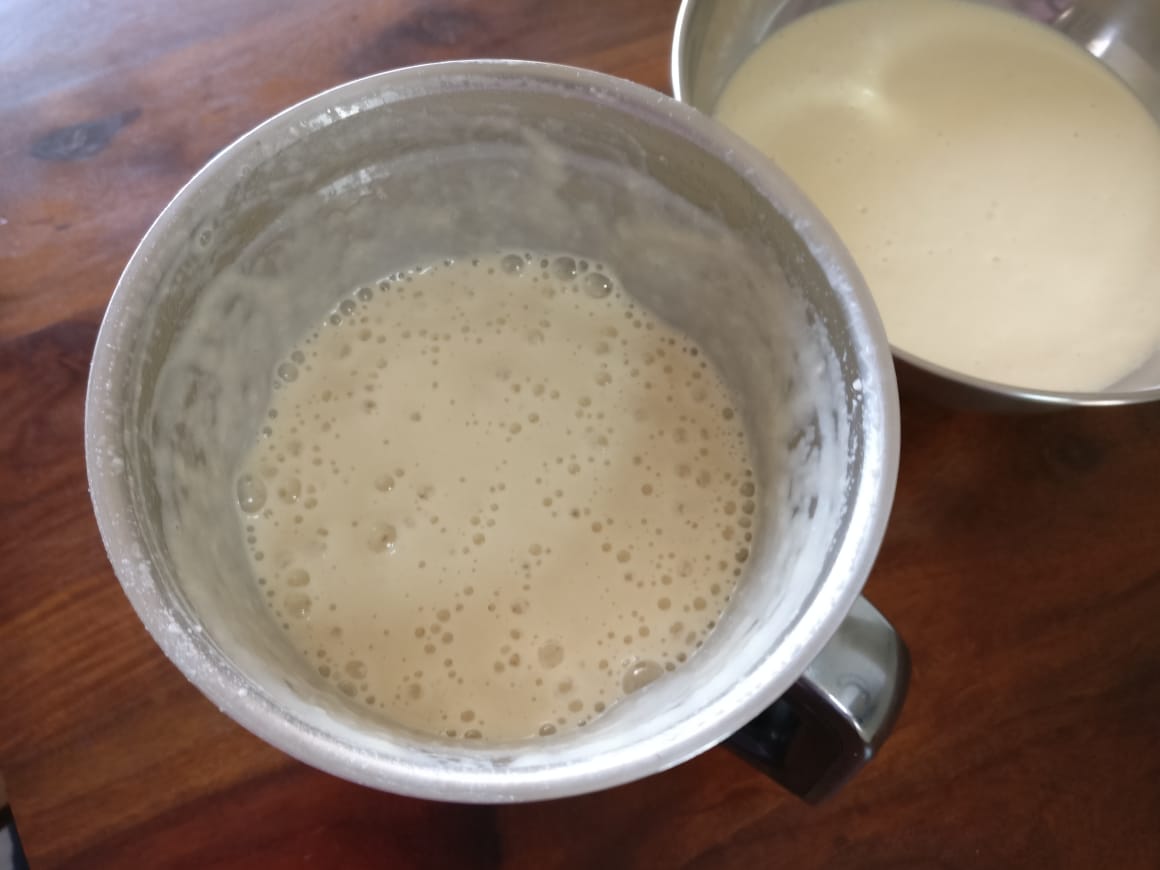
(4) Here is the picture of the batter after grinding….
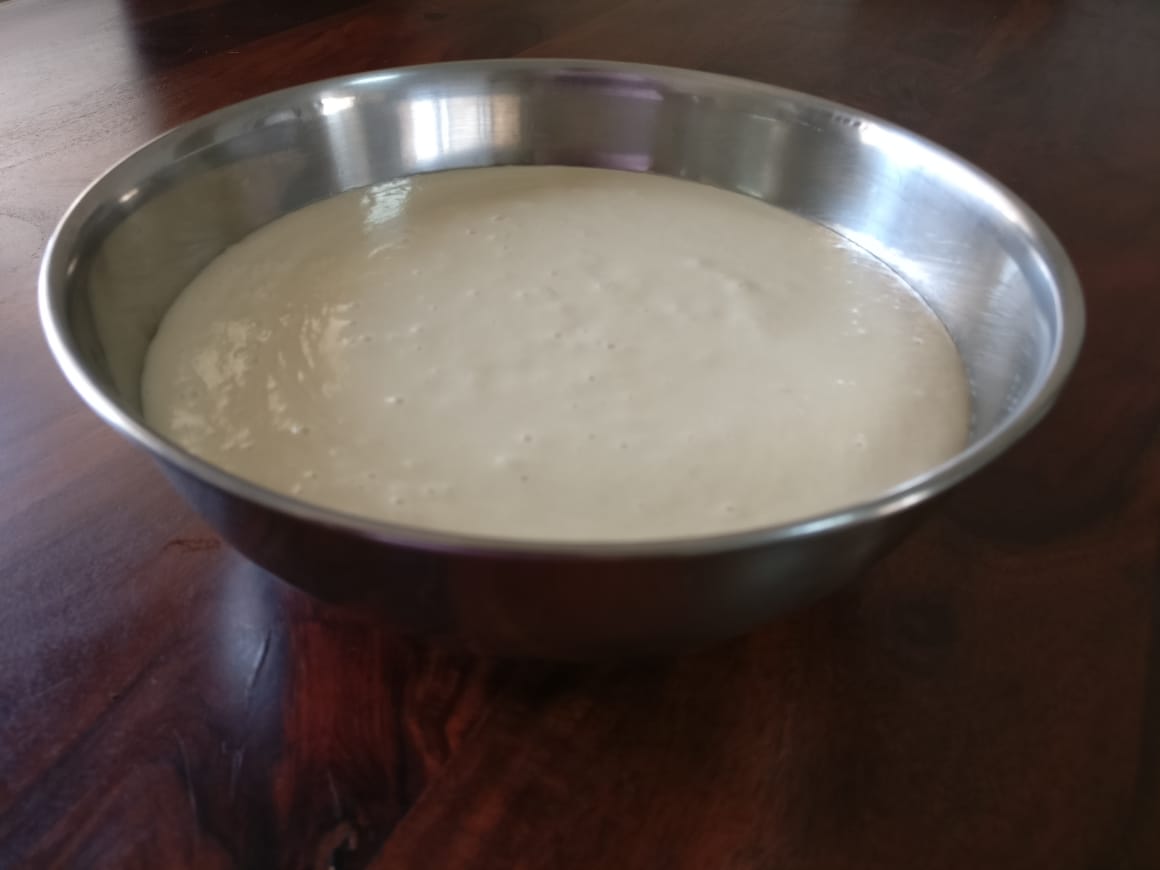
(5) Here is a video that shows the consistency of the Moong Dal Dosa batter.
There is no need to wait for the batter to ferment. You can instantly start frying the dosas. However, if you wait for about 3 hours and allow the batter to ferment, the dosas are going to be soft and delicious.
FRYING THE DOSA :
(1) You can make the dosa in the dosa frying pan. Heat a dosa frying pan on a low to medium flame. Grease the pan with some oil with the help of a basting brush. Don’t grease with too much oil, use as much as is barely visible on the pan.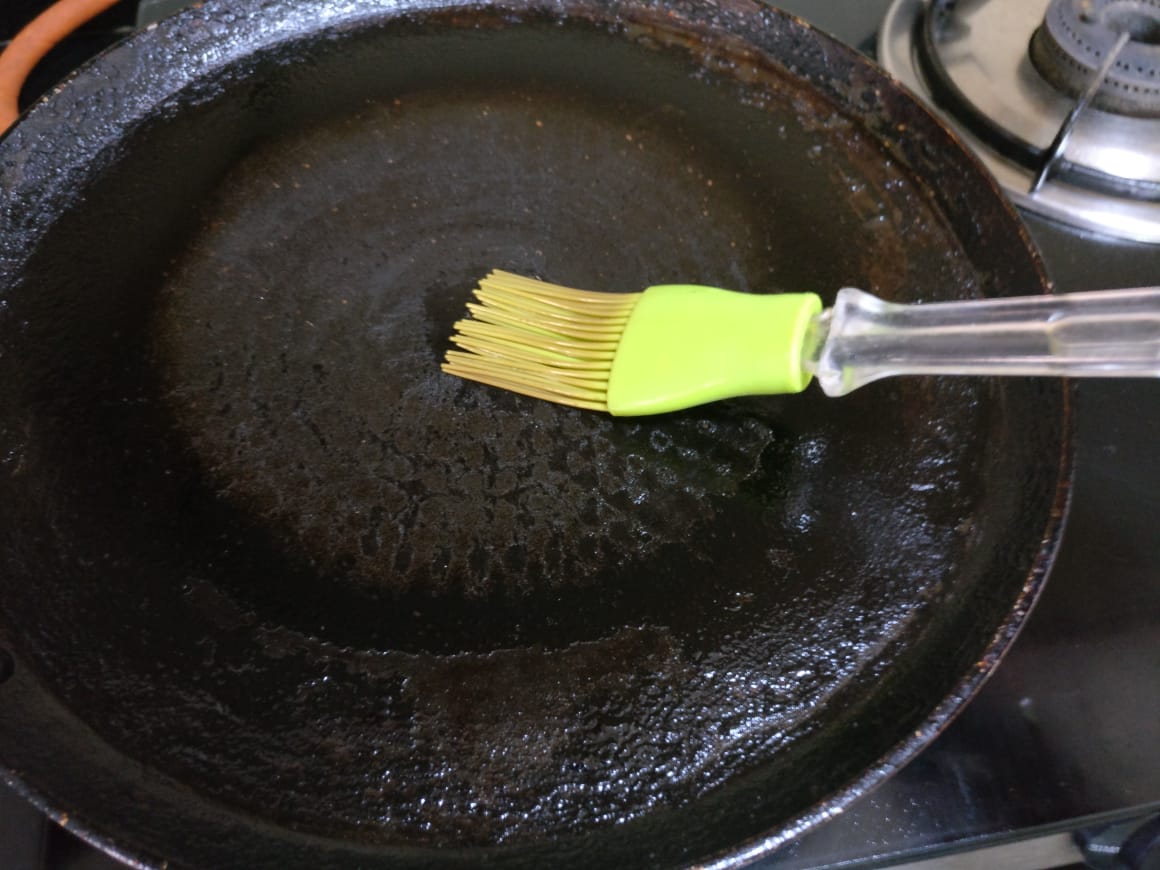
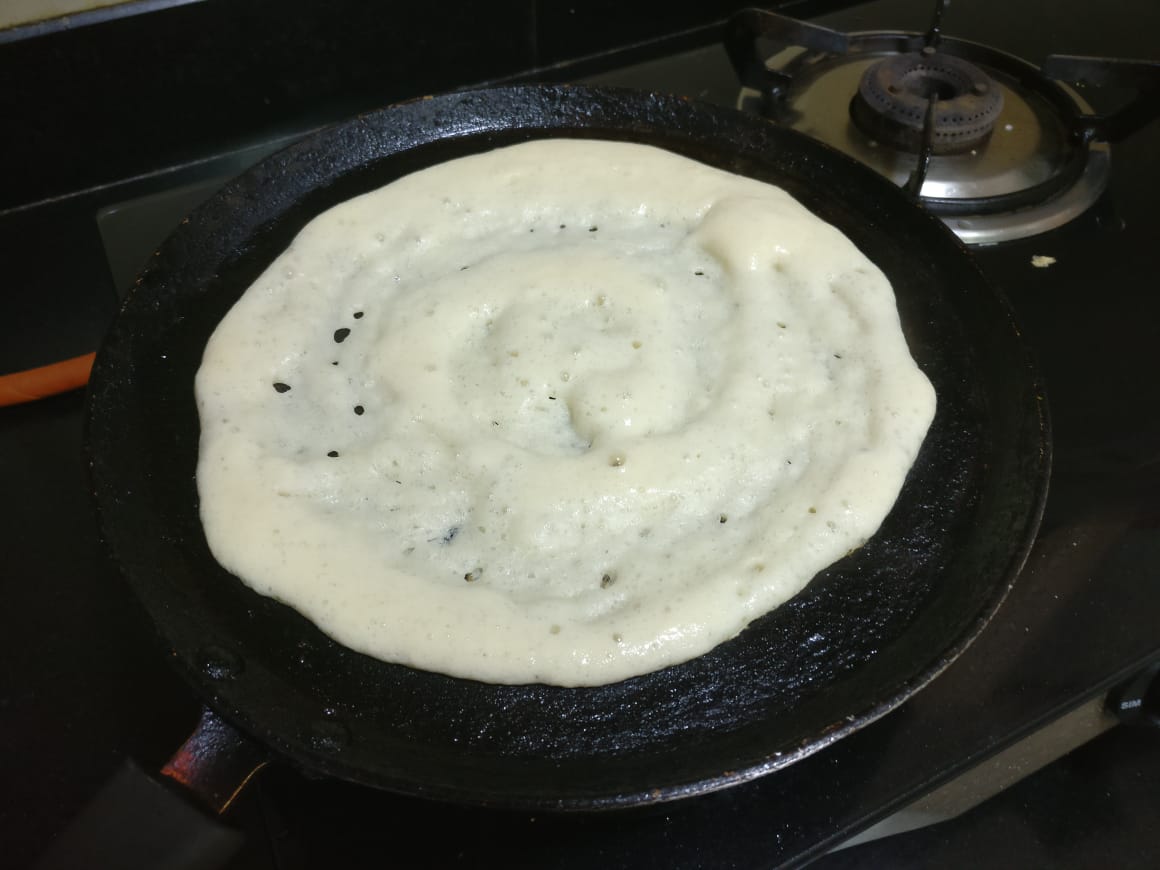
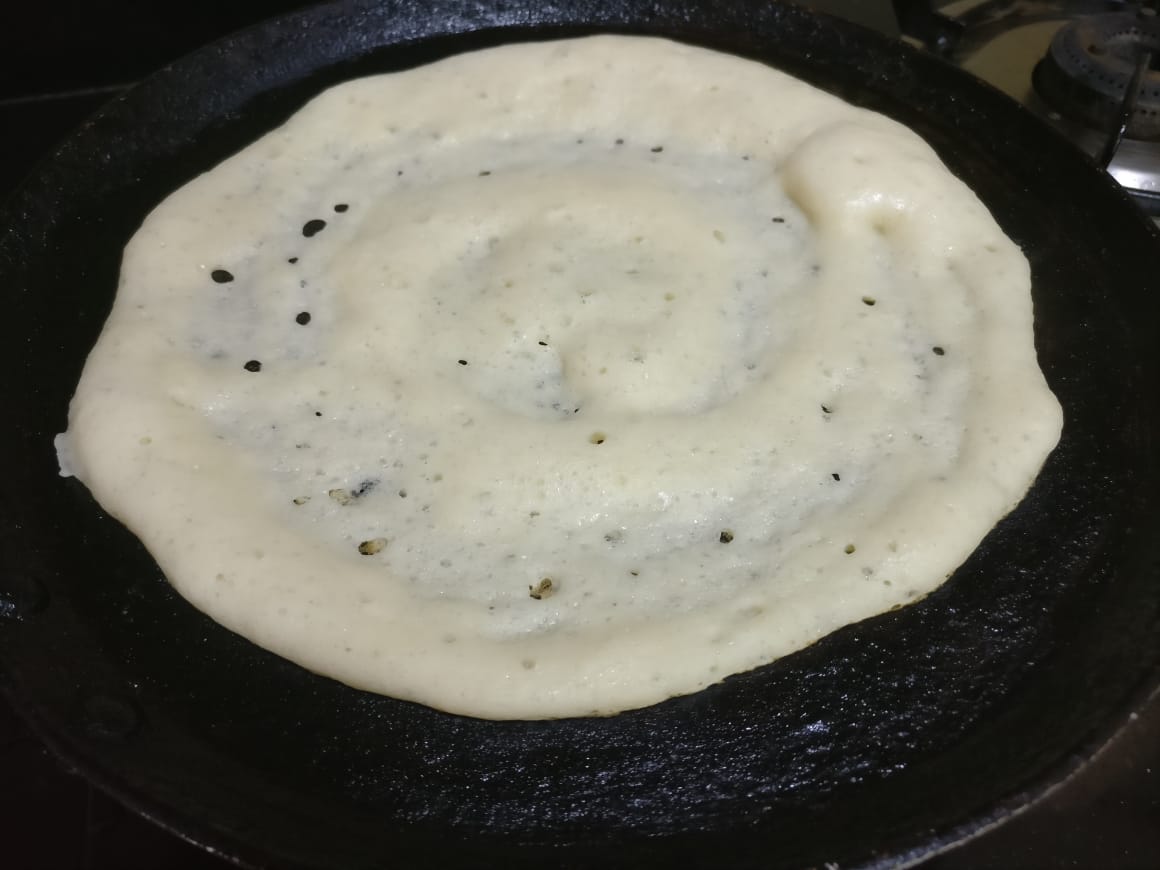
(2) Pour some batter with the help of a ladle on the pan and spread it in a sweeping circular motion with the back of the ladle, until it fills the pan to form a round shaped dosa. The dosa develops tiny holes as you spread the batter and that is completely normal.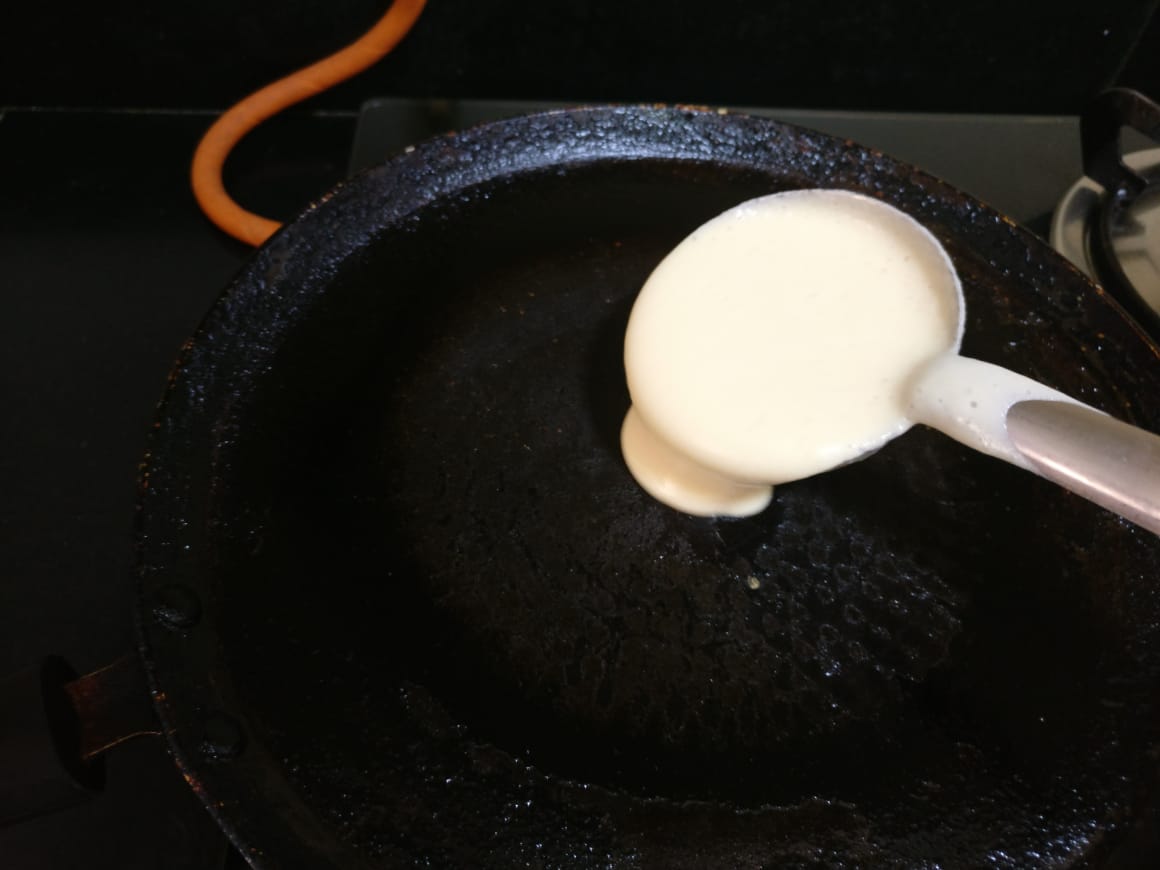
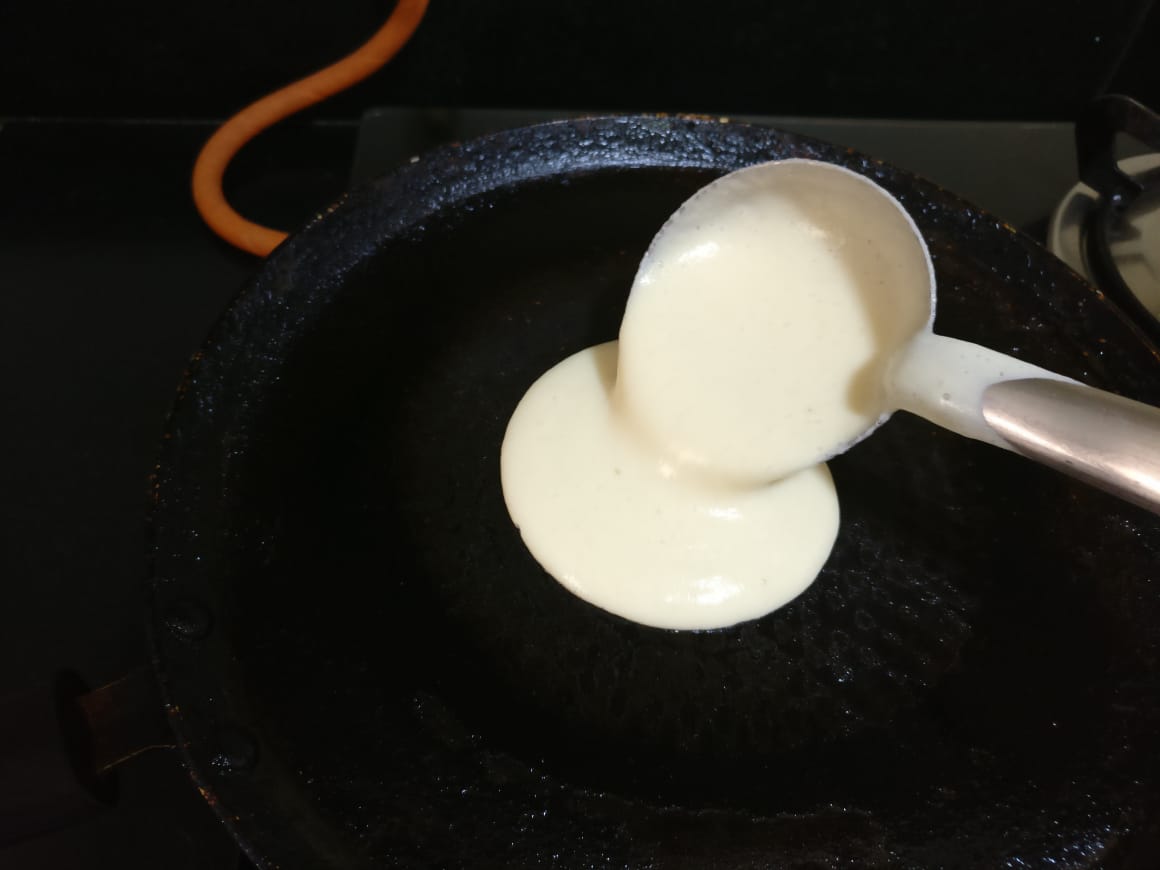
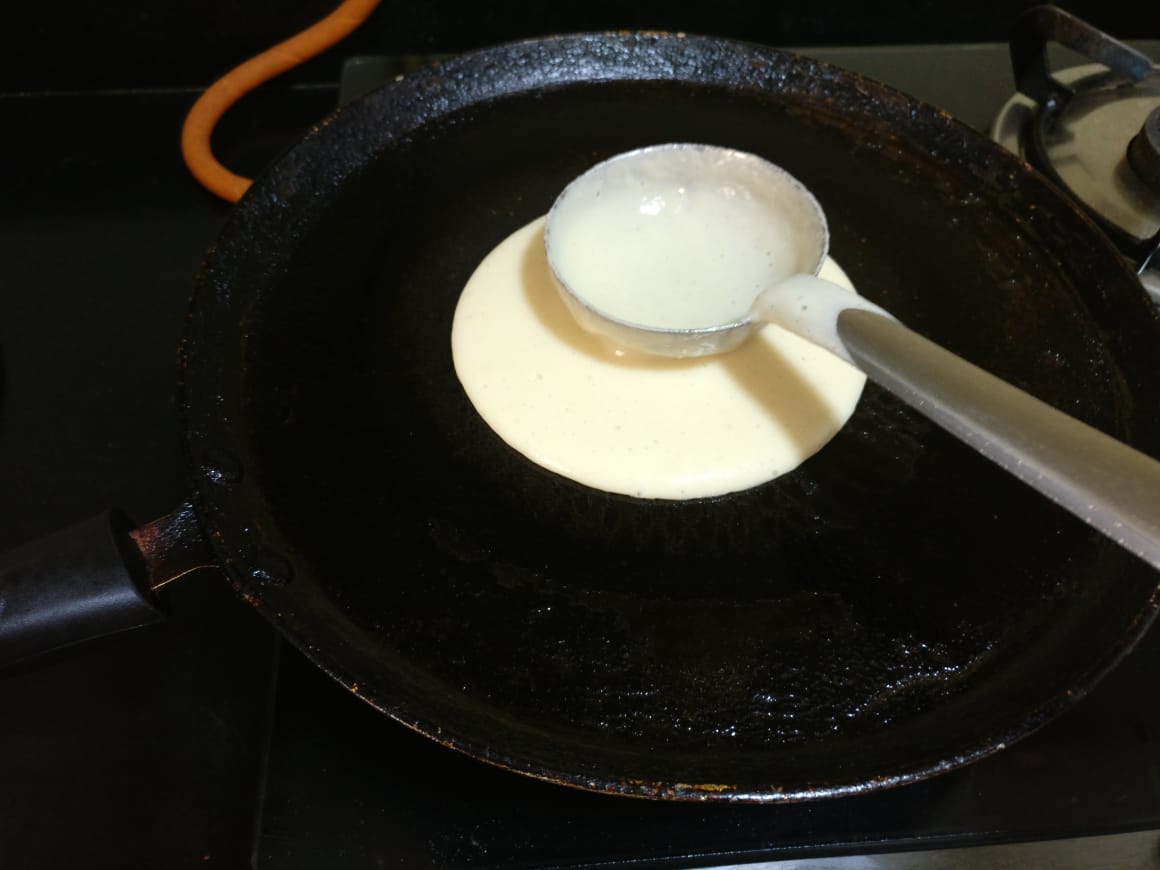
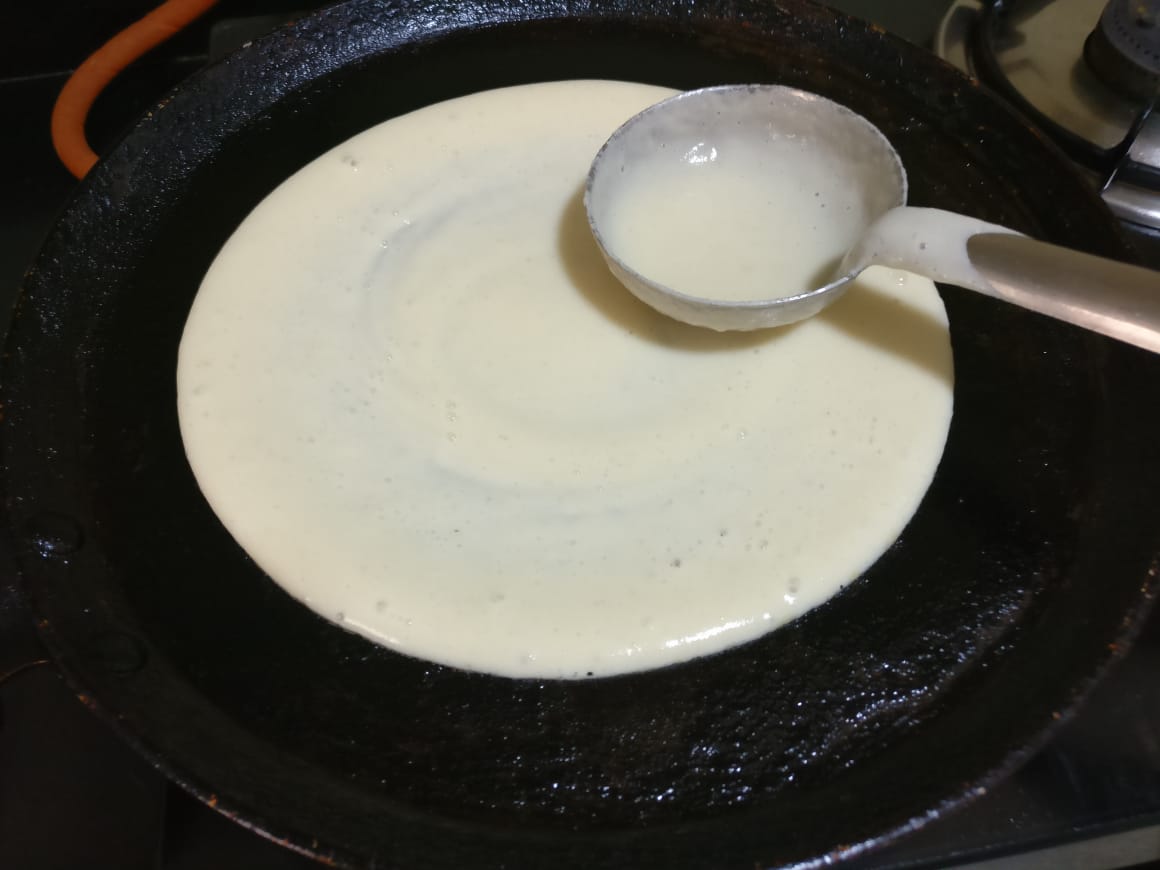
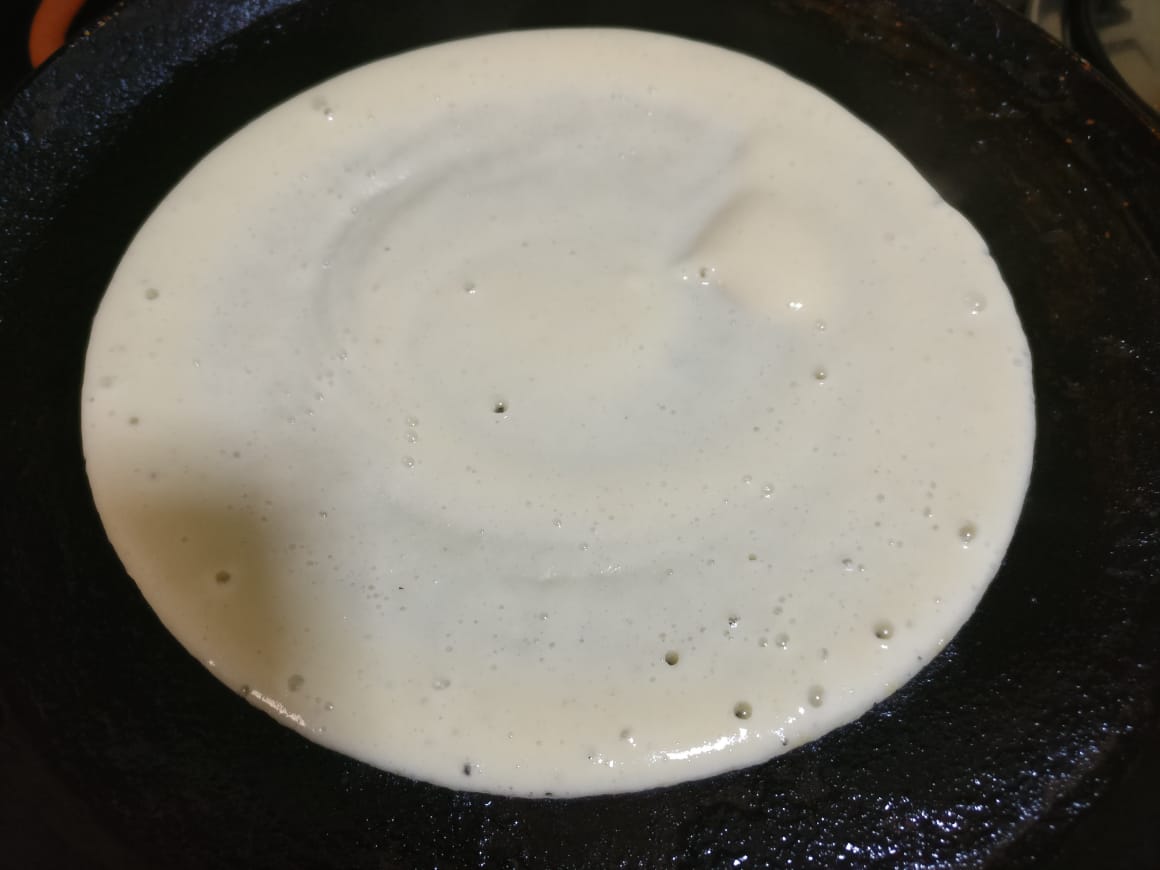
(3) Cover with a lid and allow it to cook for a minute on the surface that touches the pan.
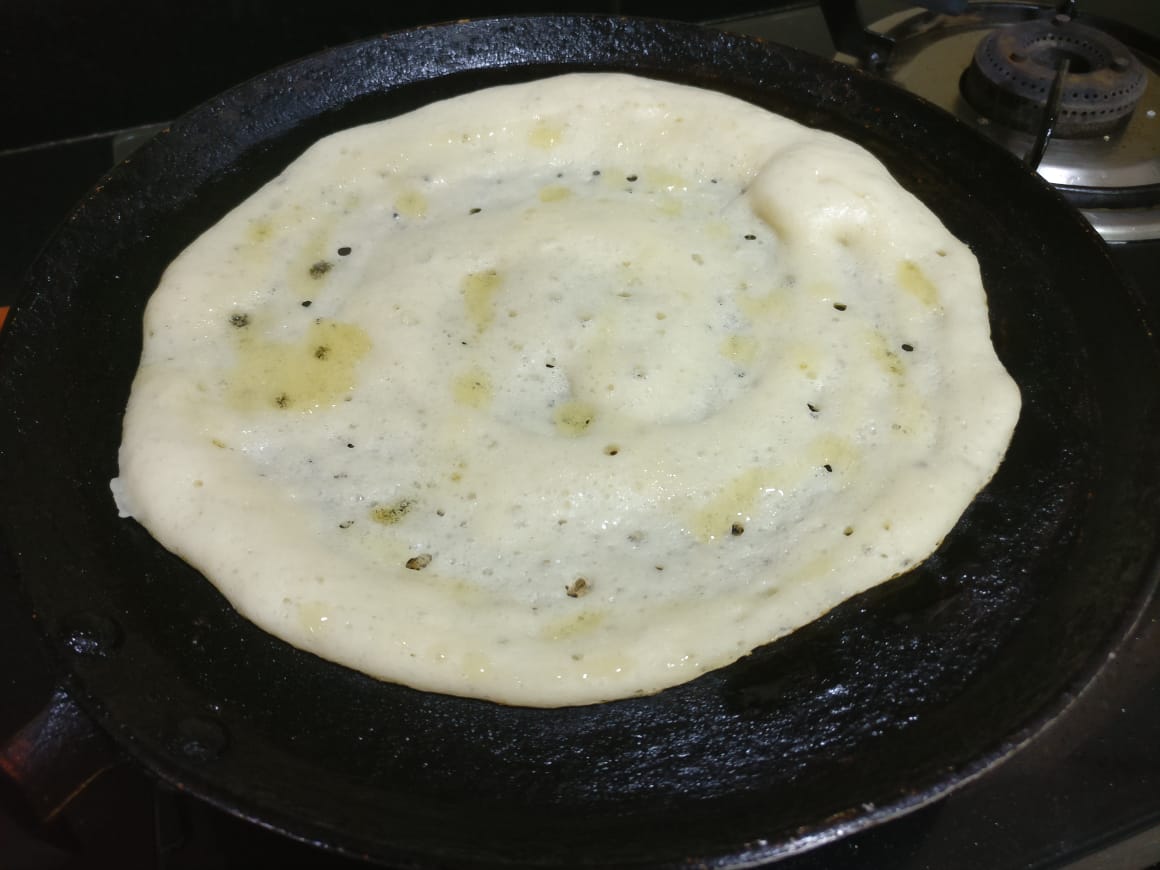
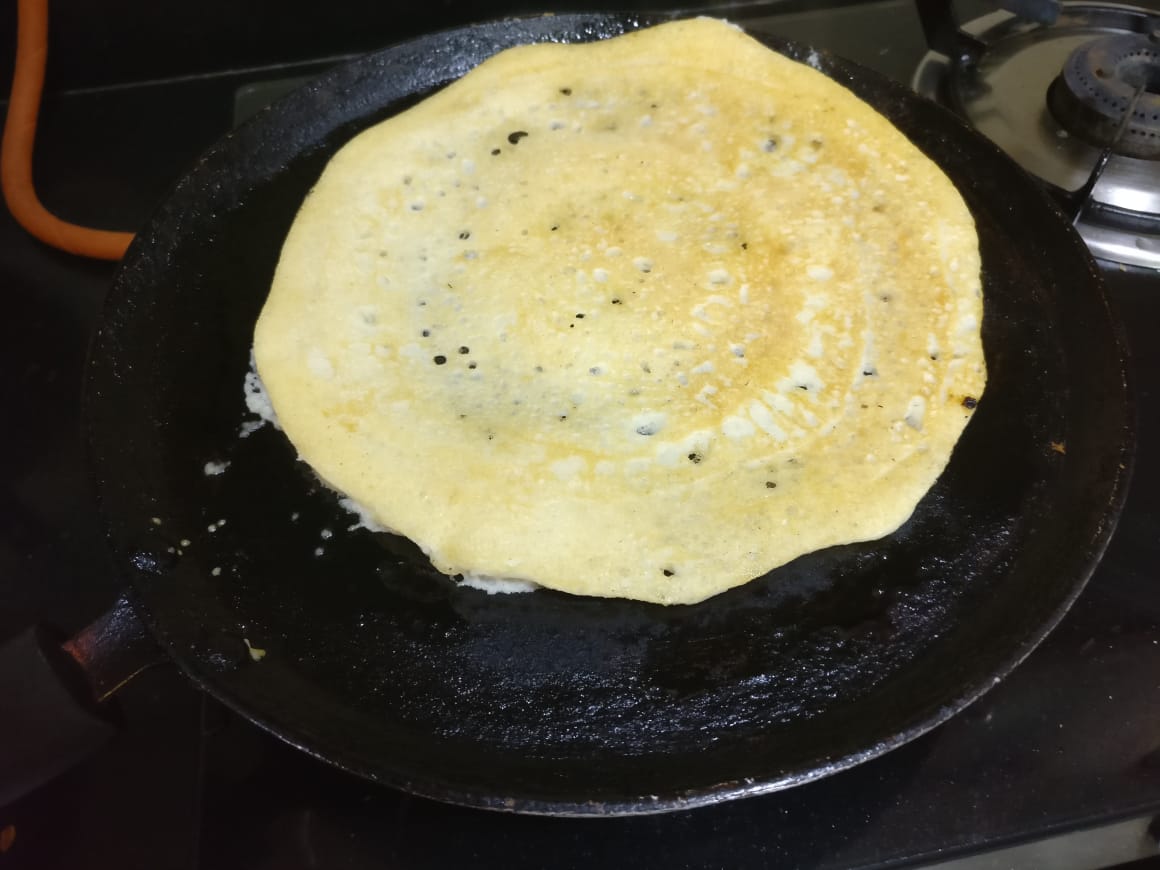
(4) Open the lid after a minute and drizzle with some oil and flip the dosa with the help of a spatula. Allow it to cook on another side for a minute.


Flip the dosa again.
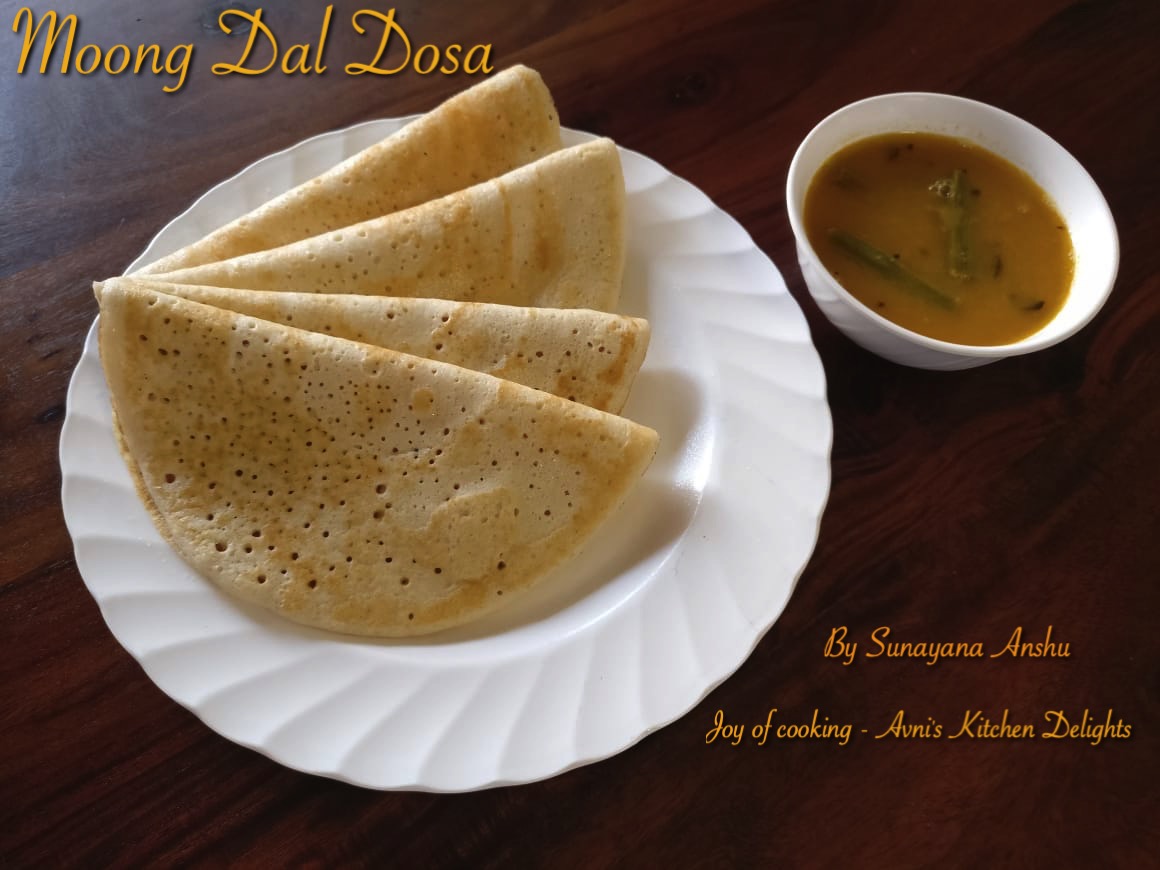
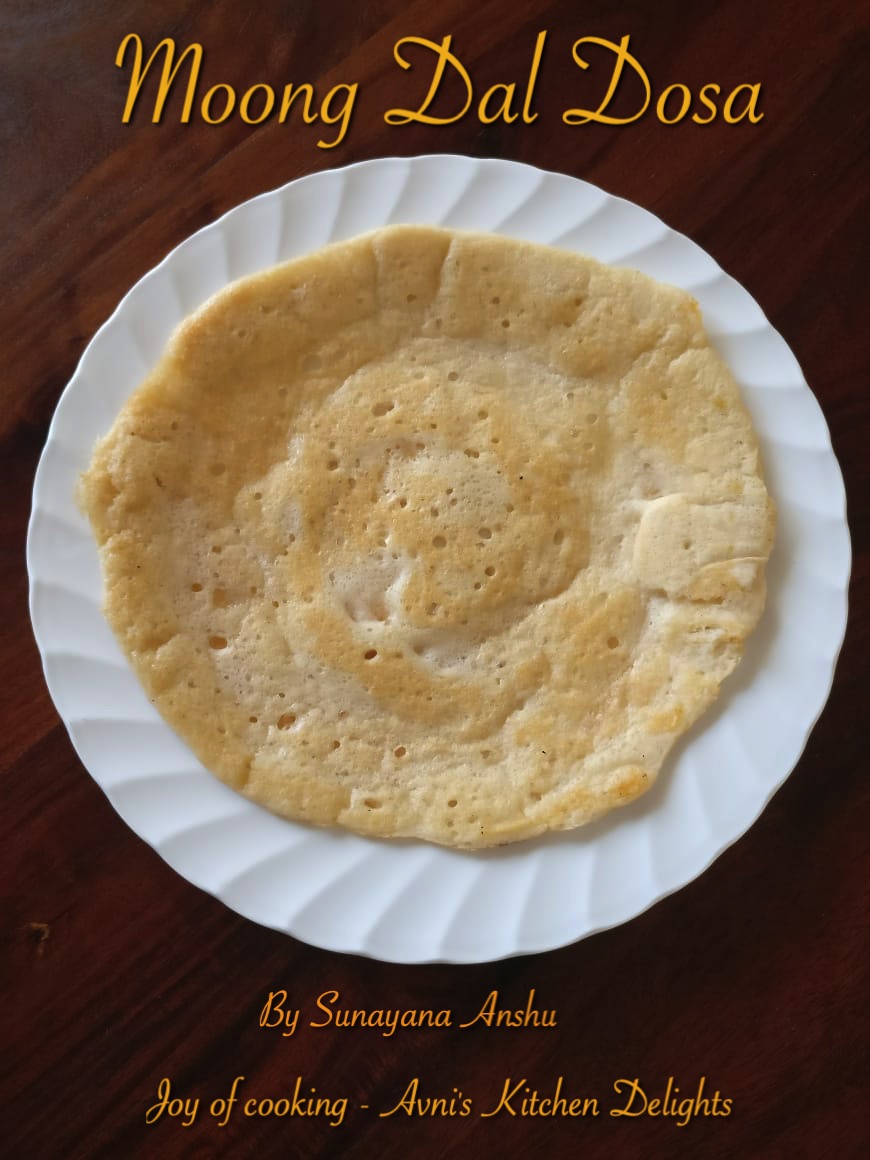
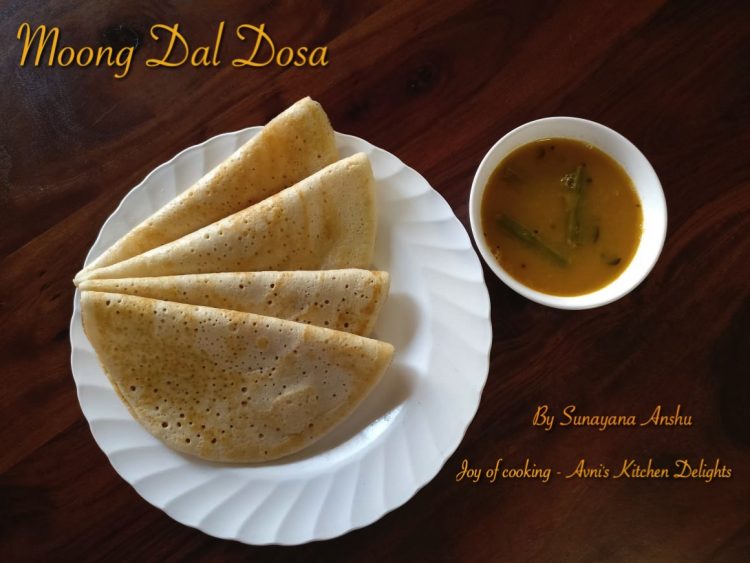
(6) The dosa is ready and served on a serving plate accompanied with sambar and chutney or with any vegetable sagu (Side dish).
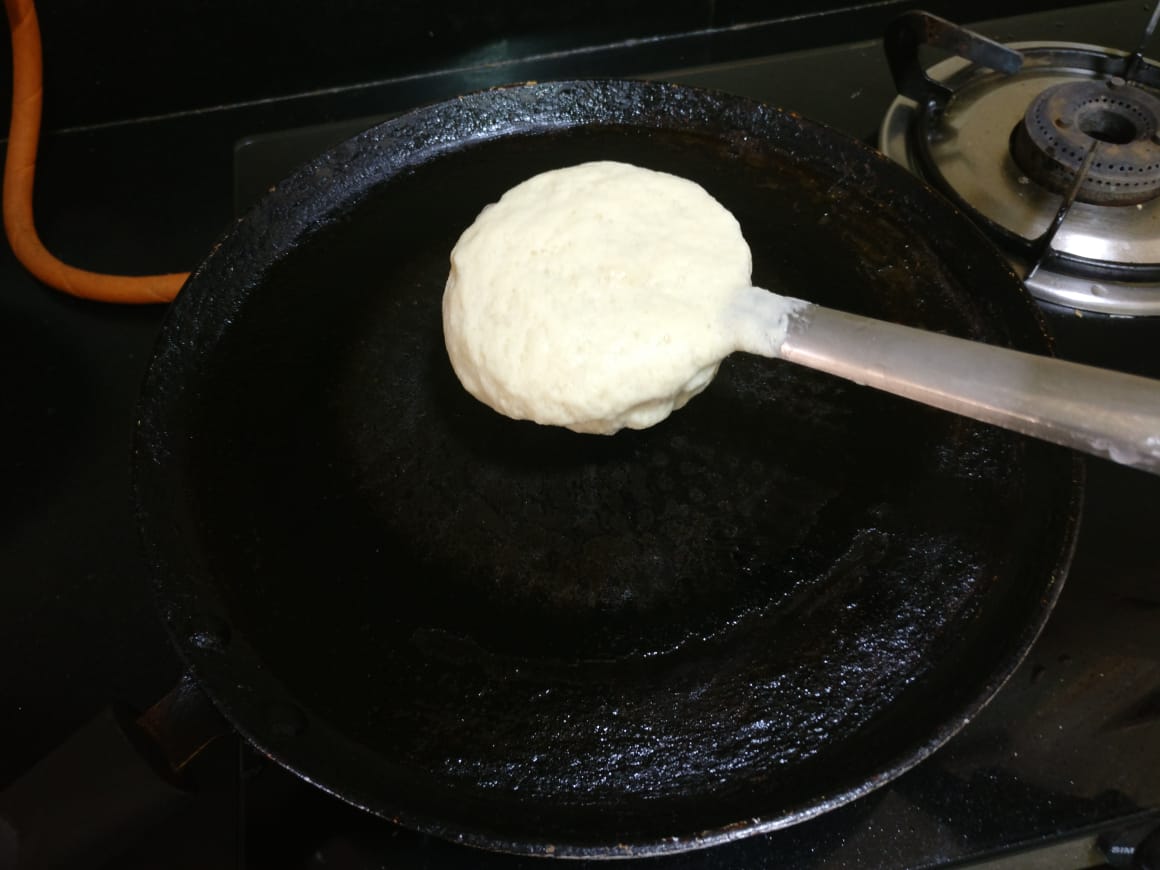
(7) As time passes, the batter starts to ferment due to urad dal and fenugreek seeds used in the batter and the fermented batter looks like this ….

With this fermented batter, I made a Dosa again to show you. This dosa is really very soft and delicious too. Follow the same procedure again as given in the self explanatory pictures.


Pingback: Ajwain leaves chutney - Joy of cooking - Avni's Kitchen Delights